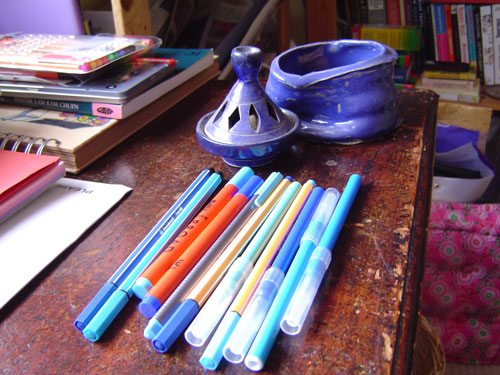
1) Choose your subject and your materials.
To do this piece I wanted to pick something fairly simple. I had this incense holder and my first ever pot made on the wheel to hand. They happened to be similar shades of blue so I put them together. The colour of the objects chose my monochrome colour and shade for me. I decided to do this in marker pens as I wanted the colours to come out quite vividly and intensely. This was drawn in my moleskine journal.
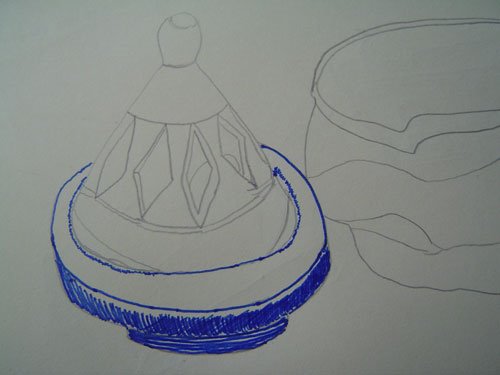
2. Start with an unobtrusive contour sketch, here I've used pencil. Try to follow the contours of the objects.

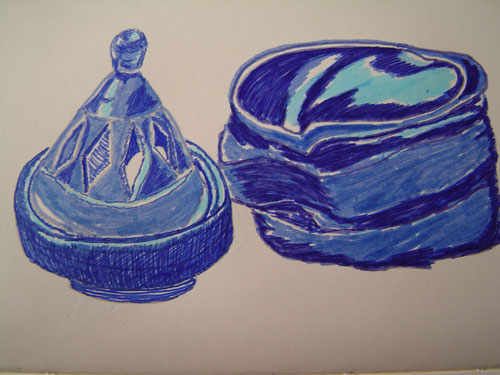
3. Observe the way the colours look on your subject. Start to shade in the darker areas first. I started the shading in by using a fine-nibbed marker in dark blue.
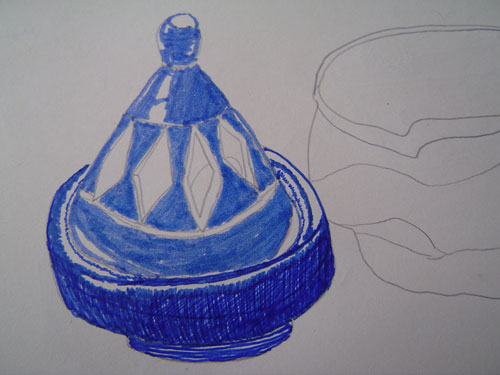
4. Keep looking at your subject as you colour in, pay attention to where shadows might be. As I was doing this, I realised I'd made a mistake in my drawing. I'd given the lip of the incense holder an extra layer, so I corrected it by colouring over my lines. The mistake means that the perspective of the object is now slightly off, but as I've learned before, this doesn't necessarily matter. Just keep going! I used some cross-hatching to get a darker shade effect.

5. Carry on colouring in the object, referring to the subject, and taking care to leave areas of light reflected on the object blank. I swapped to a broad marker pen to do this colouring in as the shade was slightly lighter. Unfortunately, I got carried away with the colouring in and neglected to do this, as you can see below. I only realised when I got to the upper part of the lid and remembered to leave some bits blank there.

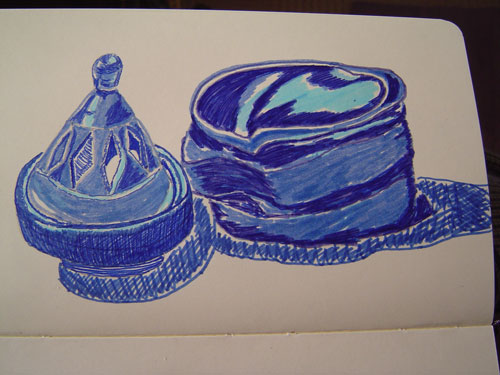
6. Start shading in the second object. Again, start by shading in darker areas first. I did this in three stages. First with the broad marker pen to mark the areas I thought were darkest. Then I went over those areas again, once with the fine-nibbed pen making loose lines fairly freely over the shaded areas, and then again with a medium-nibbed marker to smooth out any edges.

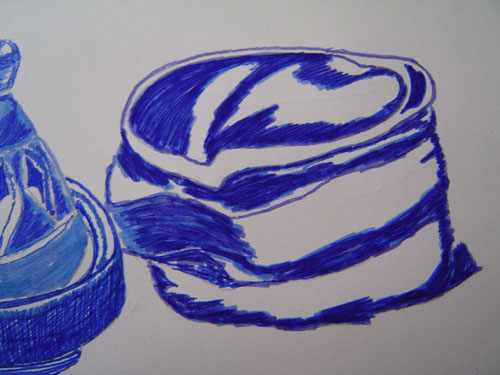
7. Colour in the rest of the areas, keeping them lighter in shade. Remember to keep referring to the object and observing where and how the light falls on it. Here I filled in the medium light tones with a light blue marker pen, leaving the very lightest tones blank.
8. Nearly there! Take a look at what you've done. Do you like the overall effect? Is it finished or does it need something more? I felt it needed something more. I tend to like to fill my entire page with colour, so I decided to add some shadow around the objects. I used cross hatching with a fine-nibbed marker again here to make the shadows look darker than the blue on the objects.
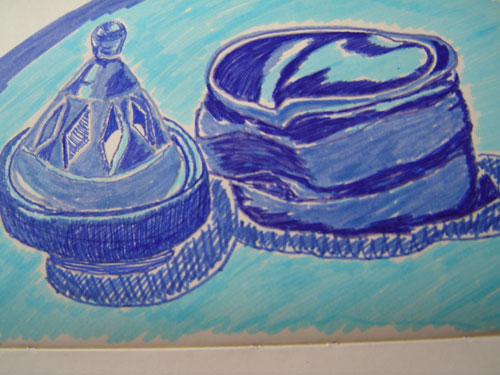
9. Take another look. It still didn't feel finished to me, so I filled the page with colour, using the shadows around the objects as a rough guide as to where to put my colours.
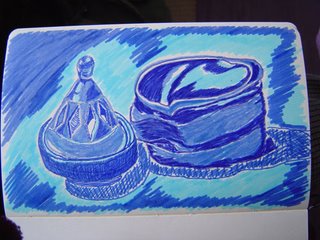
10. Finish up! Take a final look. Add finishing touches. Give it a name, and voila, there you have your Still life in blue. Date and initial your work, photograph and post to blogger!
No comments:
Post a Comment